It's definitely about the haze! Case in point,
Sloop Brewing Company's Juice Bomb NE IPA. Hazy, golden and unfiltered. This Northeastern style IPA continues to be one of my favorite beers to both drink and brew. Over a two year period, I managed to brew a hundred gallons of what has become my favorite NE IPA recipe. Having this much beer on hand allowed me to share it with a very wide range of beer drinkers. Having sampled from several of my batches many commented on how much they like this beer. Including some who avoid IPAs because they find them to be undrinkable. While a small percentage did not care for this style the majority of beer drinkers liked it.
 |
| Sloop Juice Bomb Northeastern IPA Clone |
Without a doubt, the 'Haze Craze' is a popular topic of conversation for craft beer enthusiasts. The style has generated a lot of questions and its fair share of controversy too. Tales about the rapid oxidation of NE IPAs soon after packaging are not uncommon. And the pains some brewers are taking to avoid it are astounding. But by following a few simple guidelines I have managed to avoid oxidation issues in any of my batches. The following information is a proven approach you can use to brew the ultimate Juice Bomb NE IPA clone.
Hazy Versus Cloudy
Any discussion of the NE IPA style eventually leads to the question of "what causes the haze to form?". While some brewers say they add raw flour to their beer to make it cloudy. In reality, the secret to brewing a juicy tasting beer with a long lasting haze comes down to two things.
Biotransformations and
permanent chill haze. The former describes the process of converting non-aromatic hop compounds into aromatic compounds. Aromas that include citrus pine and floral that would otherwise not be present. The later is a product of malt protein and hop polyphenols that cause a beer to form a haze at cold temperatures. It is worth noting that permanent chill haze is flavorless having no impact on beer taste.
There are very good reasons not to add flour to a beer. Flour will make a beer cloudy, murky and opaque. But flour will not make a hazy beer. To me adding flour to a beer in an attempt to make it hazy is pretty much nothing more than a ruse. Adding flour to beer will make the beer murky and also introduce flavor and stability issues. Another thing to avoid is using a low flocculating strain of yeast. The cells of those strains will make your beer cloudy by staying in suspension longer. But they will also add a yeasty flavor profile that is uncharacteristic for a true NE IPA beer style.
 |
| Add Plenty Of Whirlpool And Dry Hops |
On To The Recipe
I first learned about
Sloop Brewing Company and their Juice Bomb NE IPA at my daughter's wedding. It was the only IPA that
Foxfire Mountain House had on tap at the time. Little did I know then but Zymurgy Magazine had published a Juice Bomb clone recipe in their May/June 2017 issue. In that same issue, Martin Brungard also had an article for creating the perfect NE IPA water profile! Coincidence? Or had the stars had aligned at the right moment in time? After rejecting the idea of brewing a hazy beer for months I finally relented.
Hops are a major contributor to the appearance and taste of an NE IPA. Having the ability to
whirlpool hops after flameout for an extended period of time is a must. Especially when it comes to juicing up aroma to NE IPA levels. Late boil, whirlpool, and dry hop additions each contribute a different aroma character. This recipe relies on whirlpool hops and dry hops for its aroma. At flameout whirlpool the hop addition until the wort temperature drops to [170 ° F/76 ° C]. When brewing a [10-gallon/38 L] batch this process takes approximately 45 minutes on my system.
I like the citrus character that Cascade hops add. And I've modified the original recipe to include them in the whirlpool. About ~75% of the total IBUs come from the whirlpool and dry hop additions. The remaining ~25% of the total IBUs come from a small 30 minute Citra hop addition. The following ingredient amounts listed are for a [10-gallon/38 L] batch of Juice Bomb. When brewing a [5-gallon/19 L] batch divide the ingredient amounts in half where applicable
 |
| Juice Bomb Original Gravity 1.059 |
I realize not everyone brews 10-gallon batches on a 15-gallon BIAB system like I do. For convenience follow the link to
ezRecipe "The easy way to awesome beer!" Use it as needed to adjust this recipe to work with your brewing system.
ezRecipe is a 100% free full-featured recipe designer that is easy to learn and easy to use. And it's available now in both US and Metric versions.
Remove the complexities of mash pH prediction once and for all. ezRecipe uses 100% pure reverse osmosis or distilled source water. No more struggling to interpret outdated or incomplete water reports.
10-gallon/38 L Batch Size:
 |
| Adjust Mash Strike Water Volume Efficiency And Thickness Where Needed |
When preparing the wort mash the grains at 148 ° F [64 ° C] for 60 minutes. Using
ezBIAB makes it easy to adjust the brewhouse settings to your own brewing system. My brewing system needs a 13.5-gallon [51-liter] pre-boil wort volume. A 11.75-gallon [44.5-liter] post boil wort volume. And a 12-gallon [45.5-liter] treated mash strike water volume. Remember to adjust the mash efficiency to match that of your brewing system. Targeting a 75% mash efficiency is a safe bet for most BIAB systems. Although after brewing several batches my results are a few percentage points higher.
Grains:
 |
| Nothing At All Complicated About The Grain Bill |
Ever since moving to a BIAB system I like to double crush my grain to increase mash efficiency. Crushing the grain no more than a day or two in advance will assure the most freshness. Giving the mash a good stir every 15 to 20 minutes will also help increase mash efficiency too.
21 lbs. [9.5 kg] Pale 2 Row-US Malt
2 lbs. [0.9 kg] Torrified Wheat-US
Adjuncts:
 |
| ** Optional Can Be Added To Increase ABV If Desired ** |
As far as adding an adjunct to increase the recipe's alcohol content I leave that up to the brewer to decide. If omitted the ABV of this recipe will be 5.8% instead of 6.5%. To me the increased alcohol content is a nice to have. It dries the beer a bit and adds what I perceive to be a subtle sweetness that works well with this beer style. Add the sugar to the wort while stirring with 10 minutes remaining to the boil and you're done.
1.5 lbs. [.68 kg] Pure Cane Sugar
Brewing Water:
 |
| Classic Brewing Water Profile For A NE IPA |
Filtering your
reverse osmosis water the day before will save time on brewday. I store the water in a covered 15-gallon food grade tank overnight. The next morning I stir in the gypsum, calcium chloride, Epsom Salt and lactic acid additions. An hour or so later allowing time for the brewing water pH to stabilize I transfer the brewing water to the mash tun. My BIAB vessel is too small to hold the grains and brewing water at the same time. So I filter an extra 4-gallons [15.1-liters] of water to use for sparging the grains to hit the required pre-boil volume. The sparge water for this recipe doesn't need brewing salts or acid additions.
Hop Additions (Pellets):
 |
| Add Whirlpool Addition At Flameout And Circulate Until Wort Drops To 170 ° F [76 ° C] |
One of the goals when brewing a NE IPA is to cut out all harsh bitterness that's associated with an IPA style beer. The hop schedule and brewing water set this recipe apart from the typical IPA. Unlike the IPA style the majority of IBUs in a NE IPA come from late kettle hop additions and from dry hopping. While the NE IPA brewing water profile delivers a maltier character one not as harsh or bitter as an IPA.
A single bitterness hop addition goes in at 30 minutes remaining to the boil and is removed at flameout. The whirlpool hops are then added and the wort circulated until the temperature falls to 170 ° F [76.5 ° C]. This takes about 45 minutes on my BIAB electric system. Remove all whirlpool hops once the wort cools down to [170 ° F/76 ° C]. Using a counter-flow chiller to cool the wort when filling the fermenters takes about 20 to 30 minutes.
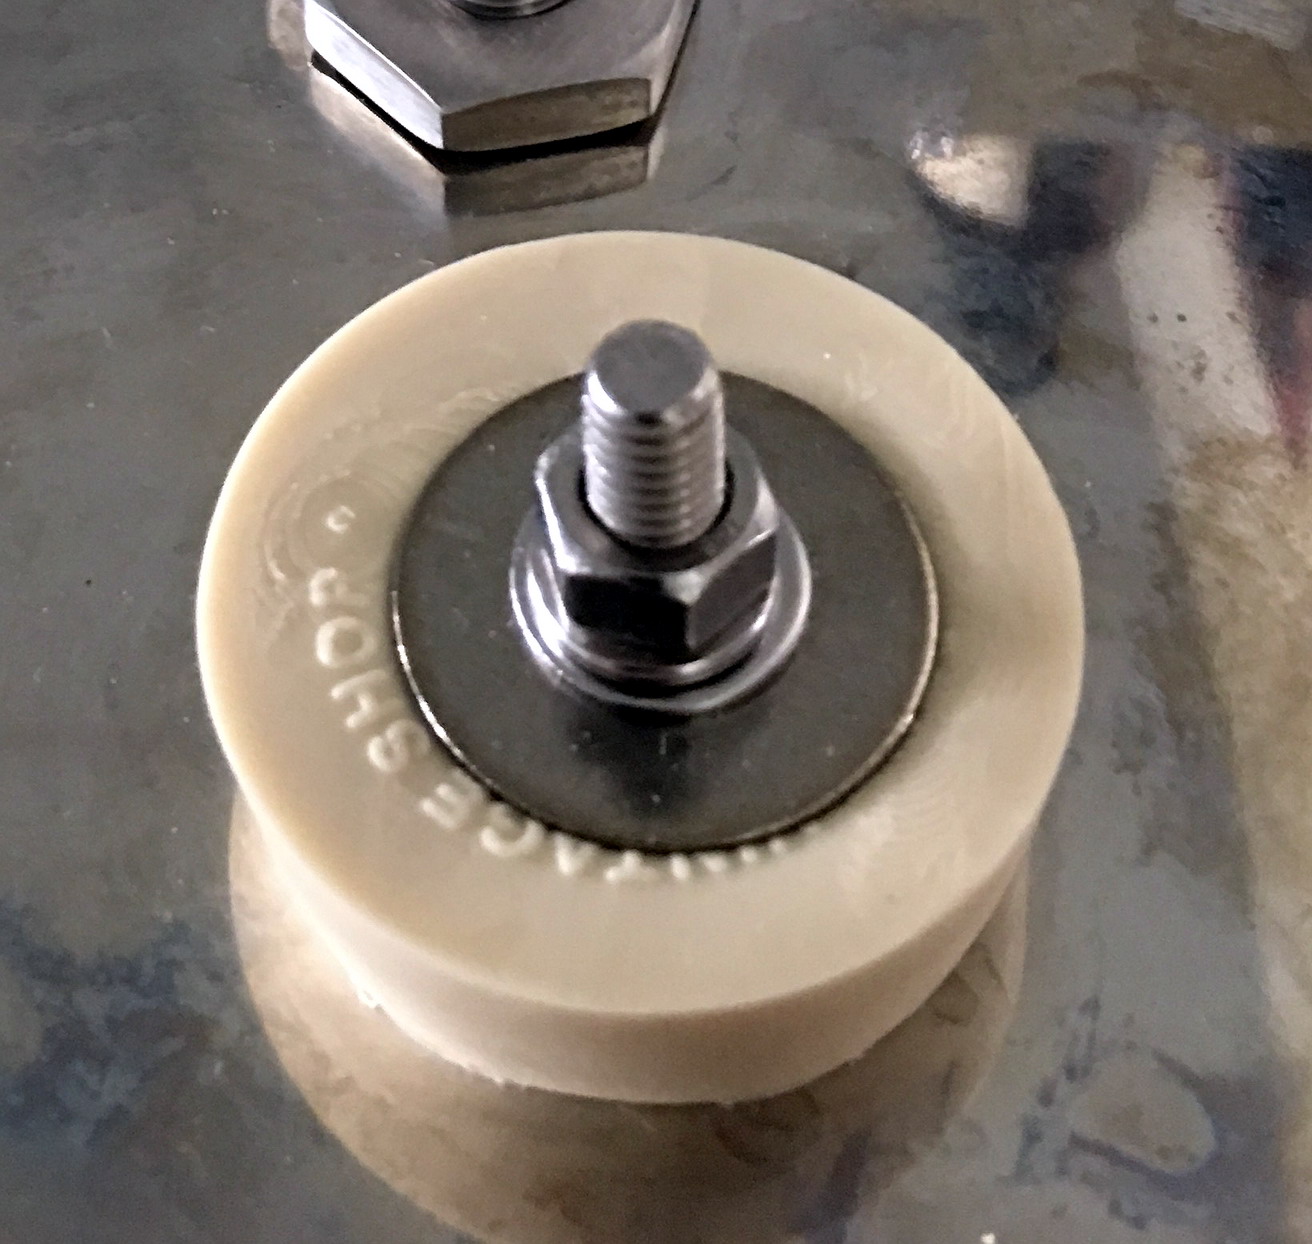
Once the airlock slows to 3 or 4 bubbles per minute its time to add the dry hops to the fermenters. Put the dry hop additions in a weighted hop bag to keep them completely submerged in the fermenting beer. I use sanitized stainless steel bolts as weights with great results. When dry hopping the most recent batches I left the hops soaking in the fermenting beer for 7 days. The end result was an pleasant easy to drink beer loaded with juicy citrus flavor and aromas.
2 ozs. [57 g] Citra - first wort hop addition
2 ozs. [57 g] Amarillo Gold - whirlpool
2 ozs. [57 g] Cascade - whirlpool
2 ozs. [57 g] Citra - whirlpool
2 ozs. [57 g] Simcoe - whirlpool
2 ozs. [57 g] Amarillo Gold - dry hop
8 ozs. [227 g] Citra - dry hop
2 ozs. [56.7 g] Simcoe - dry hop
Yeast And Fermentation:
The recommended yeast for fermenting this recipe is
White Labs - English Ale Yeast WLP002. A very high flocculation strain with medium attenuation. For best results make a yeast starter and pitch at a rate of 200 billion yeast cells per [5-gallons/19-liters] of beer. For a [10-gallon/38-liter] batch make a starter using [1-cup/180-grams] extra light dry malt extract in 2000-ml water. Into the room temperature wort pitch 2 - White Labs English Ale Yeast WLP002 pure pitch packets. Use a stirplate to keep the cells oxygenated until the starter reaches high krausen.
 |
| Yeast Starter To Increase Cell Count And Vitality |
After oxygenating the wort pitch the starter and ferment at [65 ° F/18.3 ° C] to reduce ester production. Starting on day 8 increase the fermentation temperature until it reaches [68 ° F/20 ° C] on day 12. Allow 2 days to cold crash the beer. Transfer to kegs and carbonate at 12-psi for one week before serving.
 |
| Pitch Yeast And Ferment At [65 ° F/18.3 ° C] |
Nothing brings people together better than enjoying a few delicious beers. Juice Bomb NE IPA is best enjoyed with friends and family alike. One thing is for sure. Once they've tried this beer they will always come back for more. So keep this recipe handy and be ready for the next time you're asked to brew a batch.
 |
| You'll Love Juice Bomb Either On Tap Or In Bottles |