
 |
| Blichman Beer Gun Ready To Go |
 |
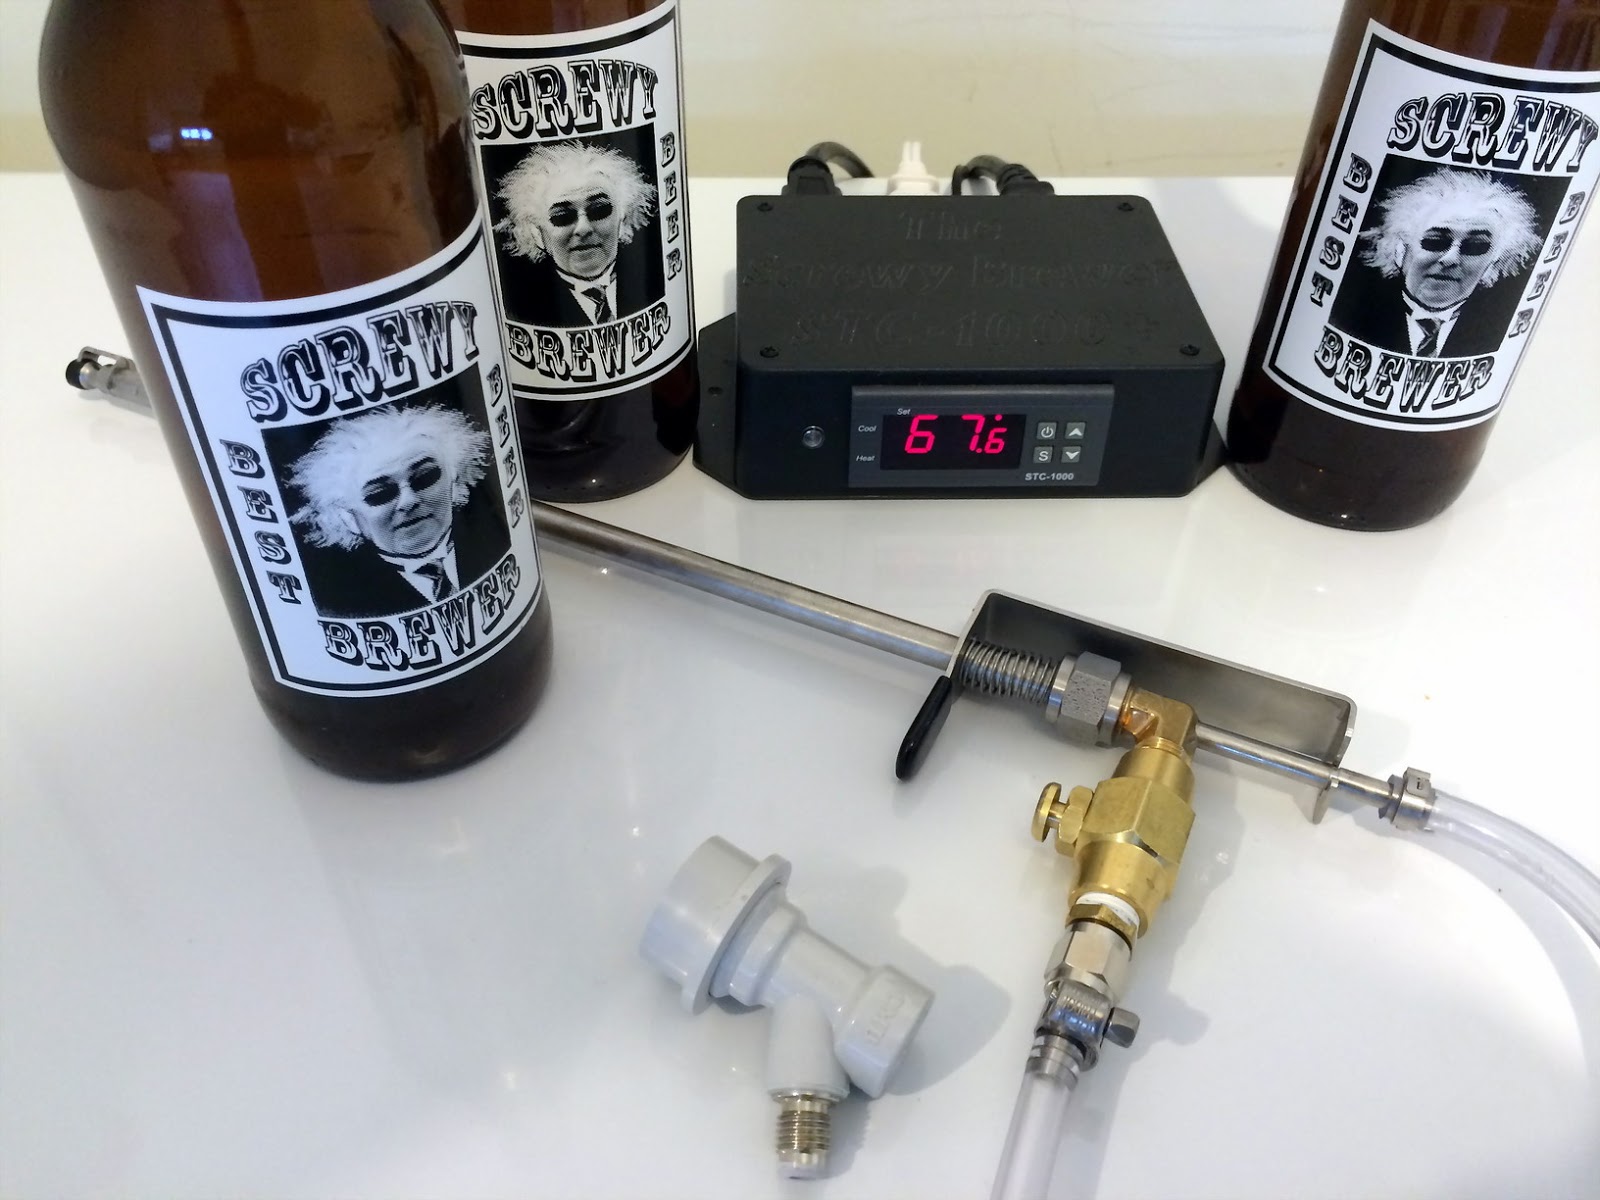
| The Blichmann Beer Gun Package |
The Blichmann BeerGun™ comes with the gun, a ten foot length of 3/16 inch ID vinyl beer line and a beer line brush for cleaning the rigid metal tubing of the gun. The beer gun I received was already assembled when I opened the box. All I had to do was clip the flat metal handle of the beer valve onto the rigid metal inner beer tube on the gun and clamp (included in the accessory kit) the vinyl beer line to the end of the same tube. To make the remaining connections needed in order to use the Beer Gun I used the additional parts that came with the Beer Gun Accessory Kit.
 |
| Blichmann Beer Gun Accessory Kit |
The Blichmann BeerGun™ Accessory Kit comes with a five foot length of 1/4 inch ID vinyl gas line tubing (I wish it were 10 foot long). The gas line tubing had two 1/4 inch stainless steel swivel connectors clamped to the ends. A threaded brass flare connection is included too. The brass threads get wrapped with Teflon tape and then carefully threaded into the Co2 valve on the Beer Gun and tightened. Once the brass flare connector is installed on the gun the gas line tubing is used to connect the Beer Gun to a threaded flare connection on a ball lock gas line connector (sold separately).
 |
| Swivel Connectors To Beer Gun And Gas Line Connector |
The use of swivel connectors in the line allows the beer and gas line configurations to be changed a lot easier than I had been used to. With the twist of a wrench the connectors can be switched over from the ball lock gas connector to the gas valve on the Beer Gun without having to use a screwdriver on any clamps or a knife to trim the vinyl tubing. With the Beer Gun assembled and all of the required connections made it was time to add another gas line to my gauge to be used by the gun to purge bottles with Co2 before filling them.
 |
| Beer Gun, Corny Keg And The Three Connections Needed |
Making The Connections to the gun is a little different than when connecting a keg to a beer tap using a single gas in and a beer out line. I plan on leaving my kegs of carbonated beer inside the refrigerator to keep cold the entire time I bottle my beer. I chose for my installation to run a new 10 foot length of gas line from the Co2 gauge through the refrigerator wall and to put a swivel connector on the end. The new gas line supplies the Co2 to the gun that it then uses to purge air out of the bottles before they're filled with beer.
 |
| Co2 And Beer Lines Run From Inside The Refrigerator |
Adding The Second Gas Line provided my first installation surprise when I tried to remove the existing shut off valve from the Co2 gauge. I quickly found out that I would need a bench vise to hold the gauge body in place while I unscrewed the parts from it. Luckily I found an old bench vise on a shelf in the brew room and after a bit of wrench muscling and gently applying Teflon tape to some threads I was able to reconfigure the Co2 gauge using the new wye fitting and shutoff valves.
 |
| Co2 Gauge Modification For Second Gas Line |
After removing the shut off valve from the gauge body I wrapped Teflon tape around it's threads and the threads of the second shut off valve and then put the wye fitting snugly into the vise to hold it steady. As I tightened both shut off valves into the wye fitting I made sure they were both squarely aligned with each other, this was done mainly for aesthetics to make the installation look as neat as possible.
 |
| A Bench Vise Makes Fitting Changes Much Easier |
 |
| Threading The Two Shut Off Valves Into The Wye Fitting |
With the shut off valve removed I wrapped the male end of the wye fitting with Teflon tape and carefully threaded it into the gauge body. I removed the gauge from the vise and tightened the wye fitting in its place and then wrapped the threaded ends of the shut off valves with Teflon tape. Next I carefully threaded both shut off valves into the wye fitting and tightened them snugly. Putting the gauge back into the vise I used the adjustable wrench to tighten the wye fitting snugly into to gauge body.
 |
| Co2 Gauge With Wye Fitting And Shut Off Valves |
Once all of the fittings were tightened onto the gauge I connected the gauge to the Co2 tank and then marked out the side of the refrigerator where the hole for the second gas line would go. I found that the 5 foot length of 1/4 inch ID tubing that came with the Beer Gun accessory kit was too short for my installation and I bought another 10 foot long length to use instead. Thanks to the swivel connectors on the ends of the Beer Gun lines I can now unscrew the keg end gas connector from the new gas line and in its place screw on the gun's gas connector. Now that the beer line and the gas line are both 10 feet long I have plenty of slack in the lines to reach my makeshift filling station where I can easily fill my bottles.
 |
| Second Gas Line Modification Completed |
As luck would have it my Blichmann BeerGun™ installation coincided with my nearly running out of kegged beer. But I did manage to sanitize and refrigerate a few 12 ounce bottles and test out the new installation by filling them with cold beer. It takes a little time to get used to maneuvering the gun around the brew room when filling bottles but I did find it easy enough to use, clean and sanitize it though. The beers I had filled I later opened after 3 days and they were perfectly carbonated, I should point out that the beer was force carbonated to 15 psi at the time of filling the bottles. Installing and using the Beer Gun was a fun project to install and use and I look forward to having the ability now to bottle my beer without ever having to use priming sugar again.
Blichmann BeerGun™ Manual
The manual is very well written with plenty of pictures that show exactly how the gun and Co2 gauge should be configured to work together. When I received my gun I found that the main tube and connectors were already assembled and I could skip over the pages that explained how that part of the assembly should be done. It's good to have those steps included in the manual though in case you ever need to disassemble the gun for cleaning or repair. I'm in the habit of cleaning up my gun as soon as I'm done using it. I run a mild solution of OxiClean FREE and warm water through the beer line to the gun followed by a warm water only rinse before storing it away. Doing this will prevent any buildup of of dried beer inside the dispensing tube and keep the gun working like new.